Fresh paint can transform a room, update an older home, and add instant value, and it’s no surprise many Canberra homeowners decide to take it on themselves.
But while DIY painting looks simple, it has a funny way of revealing flaws once the roller tray has already been washed and your shoulders are too sore to care.
Here are the most common mistakes local homeowners make (and how to avoid them), especially with Canberra’s tricky climate and building styles.
1. Skipping Prep Because It “Looks Fine”
If there’s one universal truth in painting:
Paint will expose every single thing you ignored.
Dust, hair, cracks, greasy fingerprints, water stains, old silicone, flaky patches, paint doesn’t hide them, it highlights them.
Prep is not optional; it’s the real job.
How to avoid it:
Clean, sand, fill, sand again, prime where needed, and check your surface in side light — not straight on.
2. Painting in the Wrong Weather (Especially Outside)
Canberra’s climate changes its mind more often than a toddler choosing breakfast.
Exterior paint needs the right temperature and surface conditions, not just “a free weekend.”
Too cold = won’t cure properly
Too hot = dries before it can level
Too damp/frosty = adhesion failure
Ideal temps: roughly 10–28°C and no direct frost, rain or scorching sun.
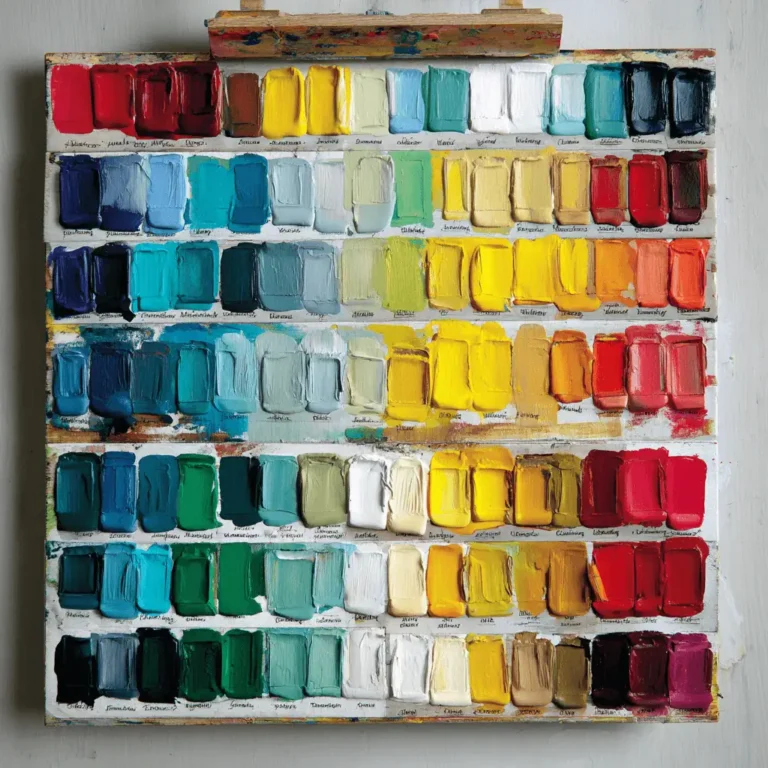
3. Choosing “Close Enough” Colours
There is close enough, and then there is why is this hallway suddenly greenish?
Testing on a phone or at Bunnings under fluorescent lights is not enough ,
paint looks different on different walls, at different times of day, and in different lighting.
Avoid it:
Use sample pots, paint A4 swatches, move them around the room, check morning + night.
Your future self will thank you.
4. Cheap Tools + Cheap Paint = Expensive Result
Cheap roller covers shed like a golden retriever in summer.
Patchy coverage, visible lines, and endless extra coats are not a money saver.
Better plan:
Good brushes, microfibre rollers, proper tape, quality paint, it pays for itself in fewer coats and longer life.
5. Taping Everything… Then Leaving It On Too Long
Painter’s tape is helpful,
until it becomes paint-bonded, surface-destroying regret.
Tip:
Score tape with a blade before peeling, and remove it while the paint is still soft, not fully cured.
6. Not Respecting Drying & Cure Times
“Looks dry” ≠ “ready.”
Paint can feel dry after hours,
but takes days to weeks to fully cure — especially in winter.
Pushing furniture back too early = dents, scuffs, peel marks.
7. Starting Without a Full Plan
Painting is like cooking…
you don’t want to realise halfway through the recipe that you’re missing two ingredients and a tool that now matters a lot.
Have:
✔ enough paint
✔ primer if needed
✔ tools ready
✔ repair products
✔ drop sheets (real ones, not old sheets… they absorb)
8. When Is It Worth Calling a Professional?
DIY is great for feature walls, bedrooms, touch-ups, minor refreshes.
Professionals are worth considering for:
Exterior painting
Roof coatings
Pre-sale enhancements
Heritage surfaces
Water damage or stain remediation
Flaking, peeling, cracking surfaces
High ceilings or multi-storey work
Anything involving ladders, climate exposure, complicated prep, or resale value is usually a professional job, not because you can’t do it, but because outcomes matter.
If You Remember One Thing
DIY painting is totally doable, just remember that the finish you live with for years is built in the preparation you do before you open the tin.